

Why you’ll love this recipe
- You get a fantastic contrast between the shatter-crisp sesame exterior and the soft, chewy “mochi” interior.
- These stay crispy for hours, making them a great make-ahead dessert for parties or potlucks.
- They are hollow in the middle, making them surprisingly light despite being a deep-fried treat.
Key Ingredients
- White Sesame Seeds: These provide a toasted, nutty crust and a beautiful visual “pebbled” texture.
- Glutinous Rice Flour: Essential for the stretchy, chewy dough that expands during frying to create the hollow center.
- Sugar: Dissolved in the dough, it helps the exterior caramelize quickly into a beautiful golden brown.
✅Quick Tips: Dip the dough balls in a bowl of water before rolling in sesame seeds; this acts as “glue” so the seeds don’t fall off in the oil.
Key Steps
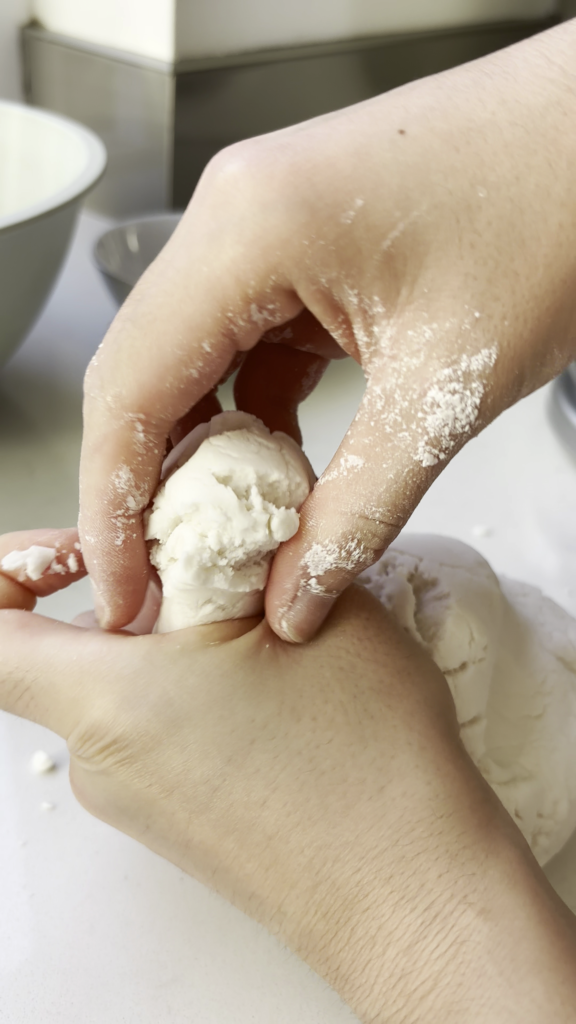
- #1: Knead the dough until it’s like play-dough consistency—it should be soft but not stick to your hands.
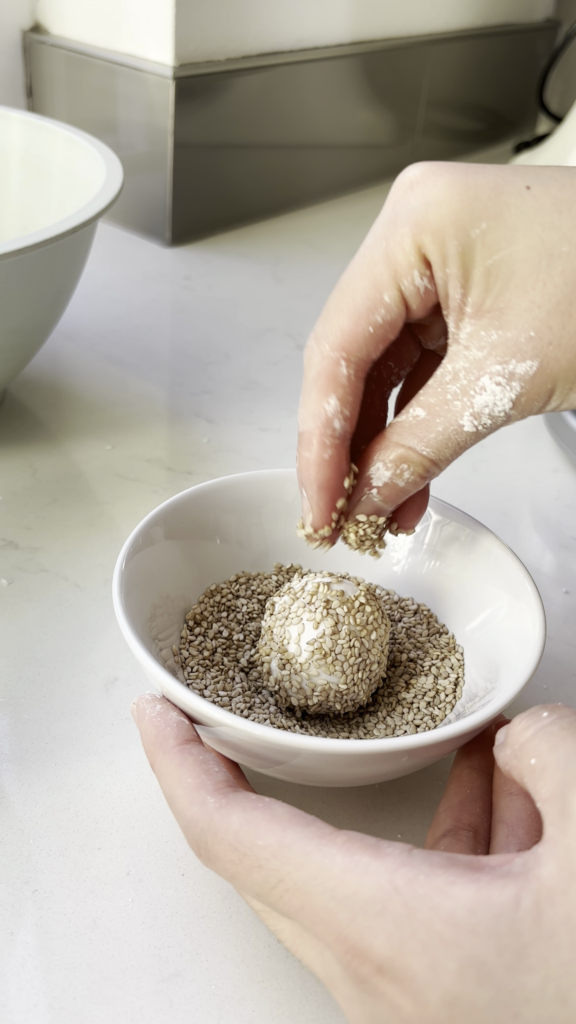
- #2: Roll the balls in water then seeds to ensure a thick, even coat that covers every millimeter of dough
- #4: Use a spatula to gently press down on the balls as they fry—this “pumping” action helps them puff up and become hollow.
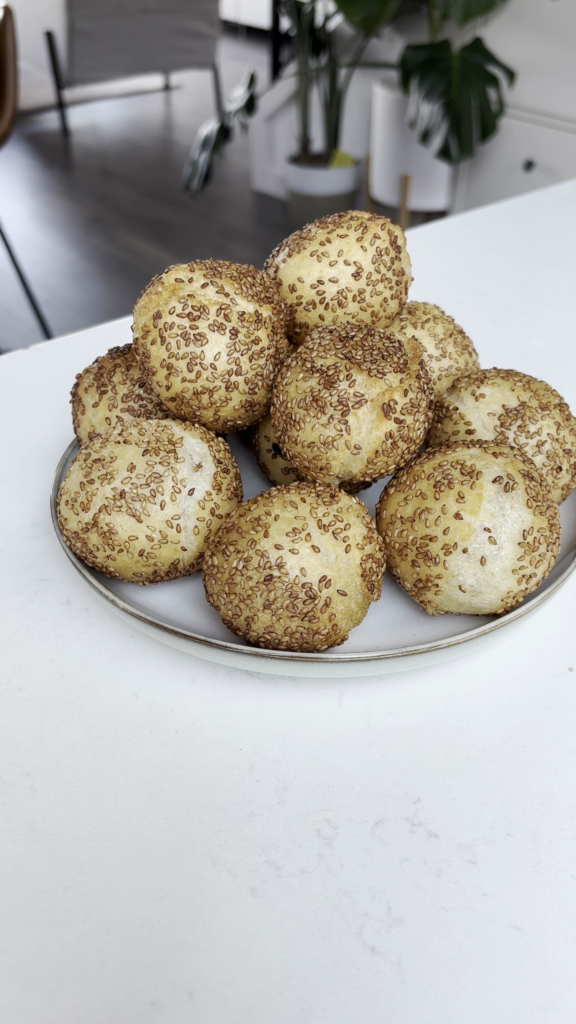
Fried Sesame Balls (no filling)
Rolled in sesame seeds and deep-fried until puffed, these treats are a simple and delicious snack or dessert.
Ingredients:
Instructions
-
In a bowl, mix glutinous rice flour and sugar.
-
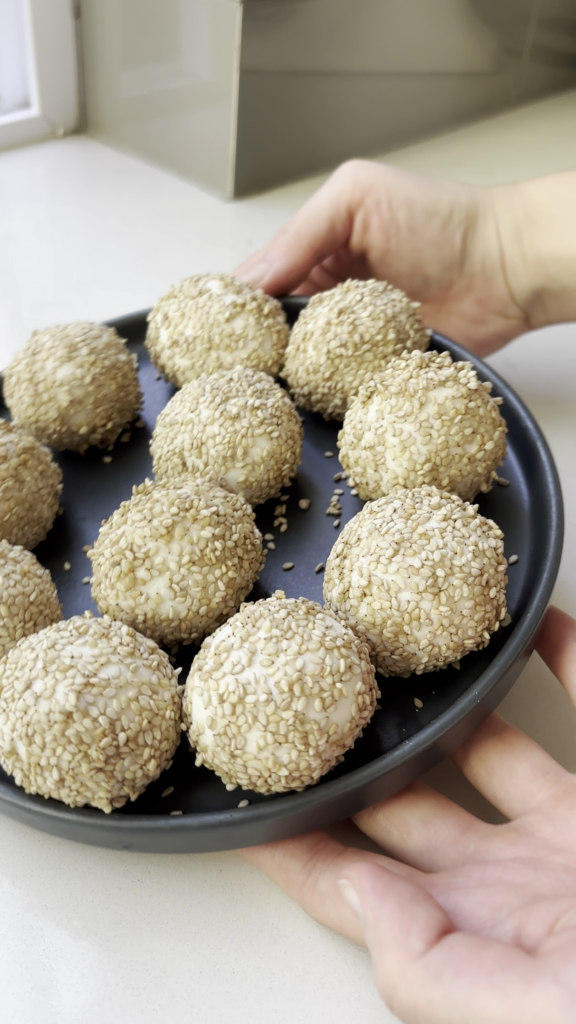
Divide the dough into 12–15 equal pieces, and shape it round.
-
Roll each ball in water first so it can coat on the sesame seeds until fully coated.
-
Fry the sesame balls
-
Heat oil in a deep pan to 160–170°C (320–340°F).
-
Fry in batches, gently stirring so they don’t stick, until golden brown and puffed (~6–8 minutes).
-
Remove and drain on paper towels.
-
Serve warm
-
Sesame Balls, Fried, Dessert


User Reviews
I would like to make this. However, there’s no step three and instructions for boiling water is missing.